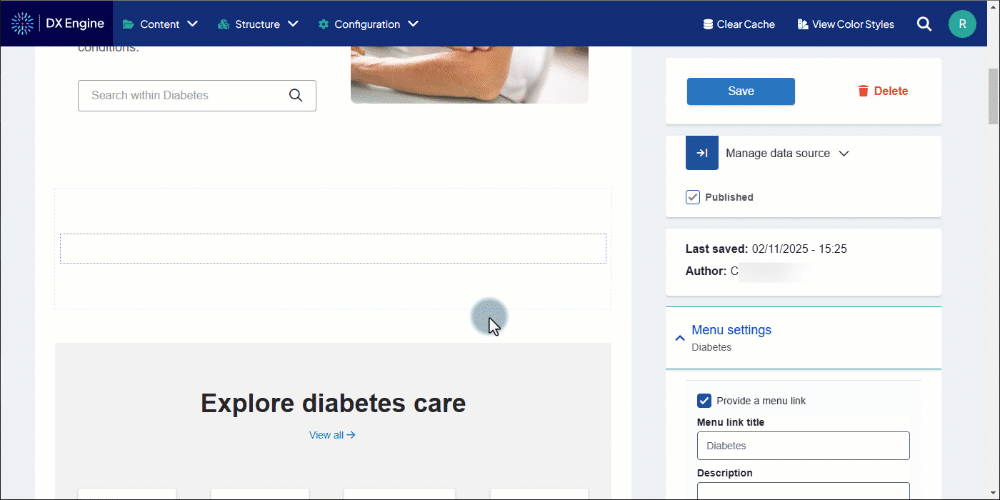
Add a Listing Grid
The Listing Grid can be placed inside any Layout region.
- Create a Layout (or use an existing one) and click the + button in one of the regions.
- In the Choose component window, click Listing Grid.
Adding content manually
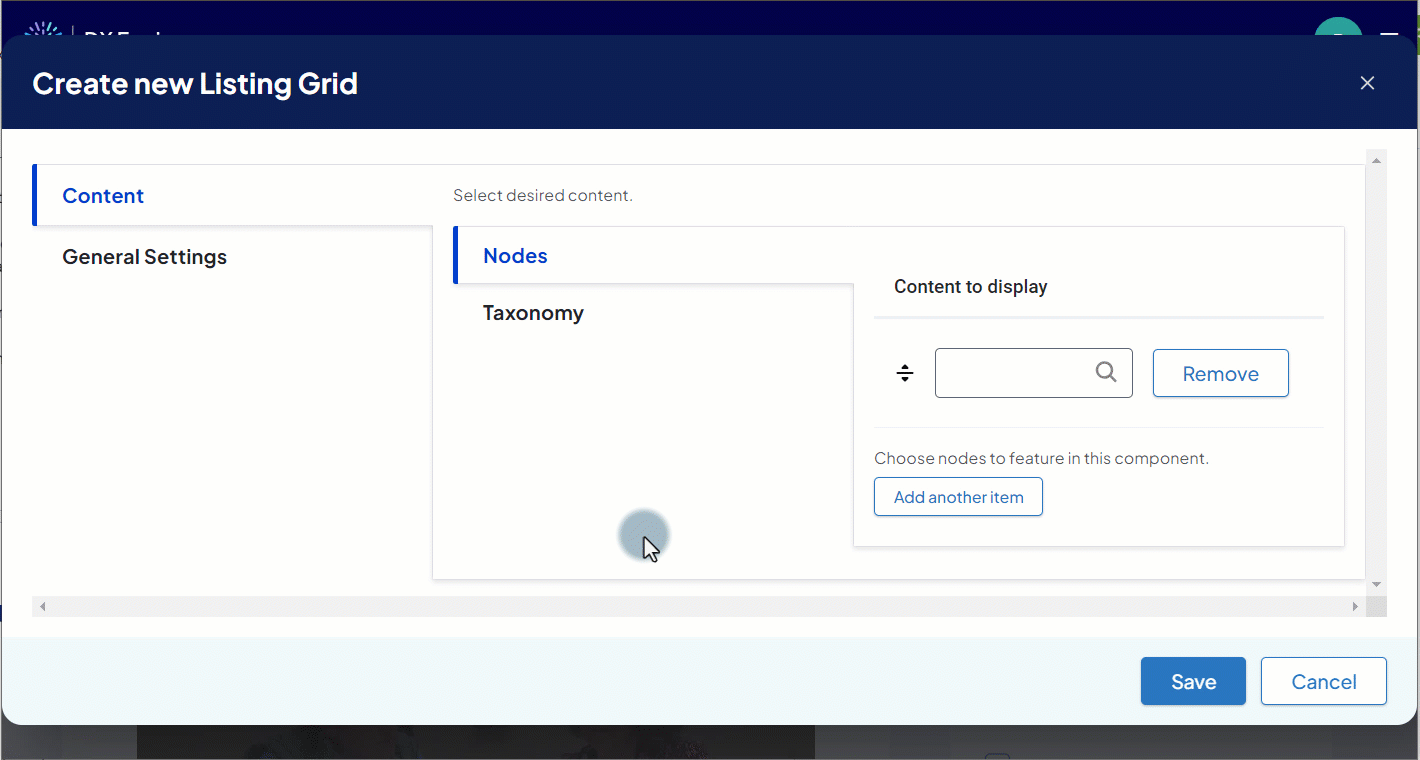
- In the Create new Listing Grid popup, select the Content tab, then the Nodes tab.
- An input box appears under Content to display.
- An input box appears under Content to display.
- Enter the title of the page or article (collectively called a "node") to add to the Listing Grid.
- For each additional item, click Add another item and repeat steps 2-3 in the new input box that appears.
- To rearrange items, click and drag them by the arrows icon.
- To remove any item, click Remove next to the item.
Adding content automatically by identified Taxonomy
- In the Create new Listing Grid popup, select the Content tab, then the Taxonomy tab.
- An input box appears under Taxonomy Content.
- An input box appears under Taxonomy Content.
- Enter the term of the HealthHub Taxonomy to populate the Listing Grid.
- Select the Taxonomy term from the list of autocomplete suggestions.

Adjust settings
After setting the content, set up the display and other options.
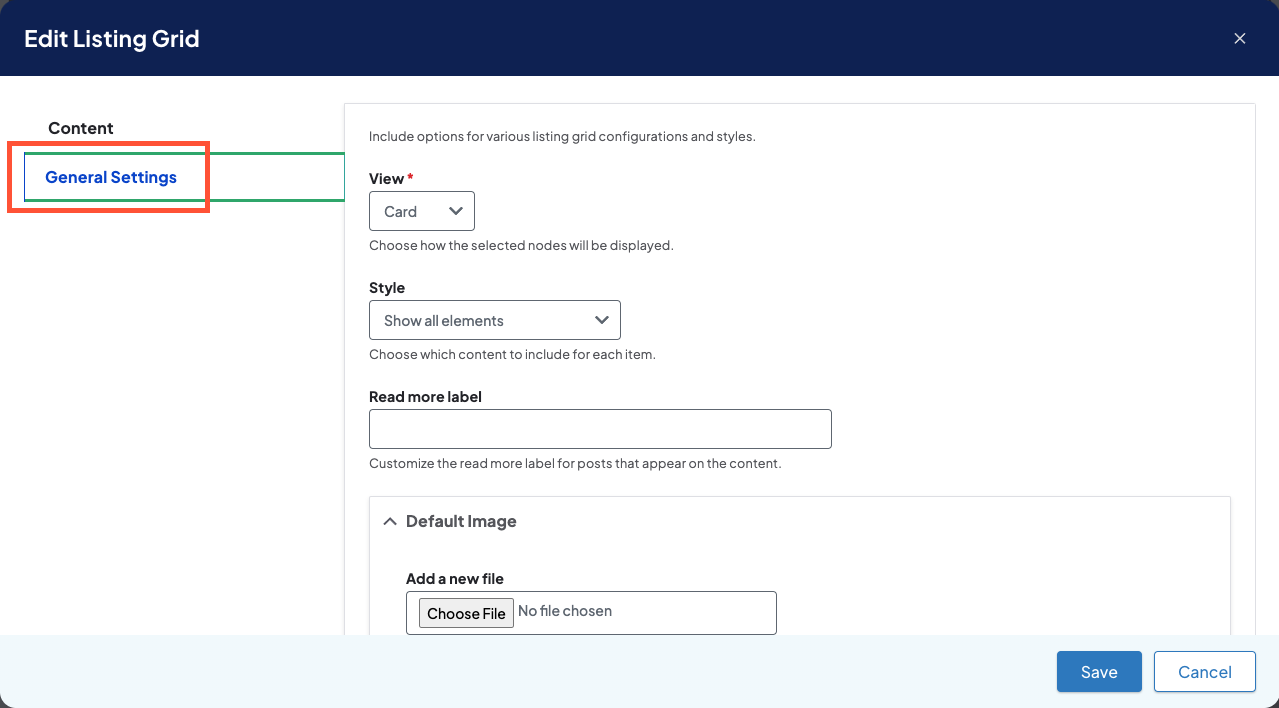
- Click the General Settings tab and set how you would like the Listing Grid to appear:
- For more info about each of these fields, please check our Listing Grid reference article.
- For more info about each of these fields, please check our Listing Grid reference article.
- Click Save to save the changes to the Listing Grid when finished configuring.
- Click Save again on the page draft to publish the new/updated Listing Grid.
Related Help Content
 HealthHub content
How-to: Edit an alternate language version of an article
HealthHub content uses English as the primary language for all of its content. Select content is also available in other languages. Content with multiple language options displays a Choose language dropdown, where an alternate language can be selected to display in the title and body.
HealthHub content
How-to: Add your own Enhanced Layout page
Adding your own Enhanced Layout page
DXE
How-to: Create or edit a Content Feed
Creating a Content Feed
DXE
Reference: Brands
A Brand is where the following is defined for your HealthHub site
DXE
Reference: Image guide
Use these specifications for general guidance on selecting and preparing images for your site. While they are a good starting point, HealthHub offers a high level of flexibility that provides the opportunity to go beyond - meaning you can create assets that best fit your unique needs and vision.
HealthHub content
How-to: Create and place custom CTAs
HealthHub includes the capability to create custom CTAs and automatically place them in related HealthHub content. You can use these to promote your related services, link to related providers, or otherwise prompt the user for more engagement.